Doors will be a dent technician’s most worked on panel. Before we begin working on the door, we are going to familiarize you with the normal braces, obstacles and overall door knowledge.
Items Needed:
In this module, you'll need the following materials:
Dent Light
Dent Hammer and Knockdown Tool
Various Hand Tools
Various Dent Rods
Trim Tool
China Marker
Tennis Ball
Large Screwdriver
Duct Tape
Door Jammer
Window Protector
Window Wedge
Glass Types
First and extremely important, we need to discuss types of window glass. There are currently two (2) types of glass being used in automobile manufacturing today. Watch the video above and then click on the two types below to learn more.
Tempered glass is a piece of annealed (ordinary) glass that gets its safety properties from a heating and cooling procedure called “tempering”. This process leaves the center in tension making the glass significantly stronger and more durable than ordinary glass.
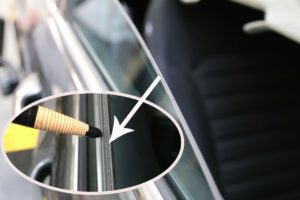
This type of glass is the “standard” window glass that has been in vehicles for decades. While it is being phased out, it will still be used in vehicles for years to come. This type of glass can be easily identified by not only a safety sticker that is usually placed on the corner of the window but also by feeling the top edge of the glass. Tempered glass will have a smooth, beveled edge.
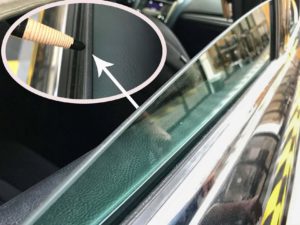
Laminated glass is made of two pieces of regular or tempered glass sandwiched around a layer of clear plastic film (PVB). The set of glass is treated through a process intended to expel air pockets and then it is heated for an initial round of melting. This type of glass can be easily identified by again feeling the top edge of the glass. Laminated glass will have a groove through the middle of the glass. Remember it is two pieces glued together. The edges of laminated glass are VERY BRITTLE. You must be very careful if you attempt to work through the window opening; it’s not recommended with Laminated Glass.
Door Bracing
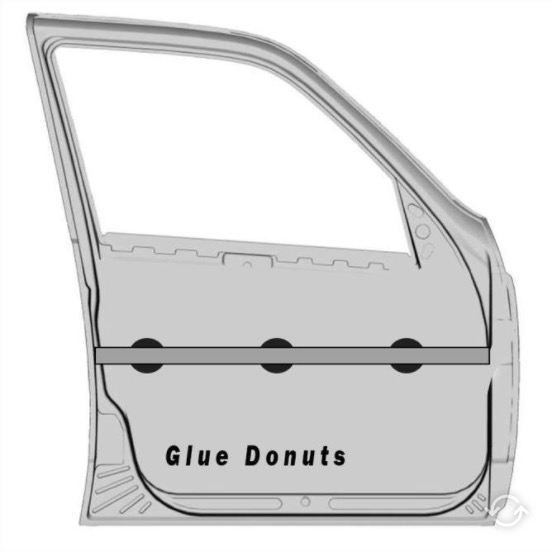
While working on doors, you will run into bracing inside the doors. These braces are designed for strength, structural integrity, and safety. There will be times that you will have to either maneuver around a brace or actually have to push a dent out with a brace directly behind the dent. This can cause you issues. The best tools for these situations are hooks, brace tools, and whale tails. Most of these tools are thin enough to fit between the brace and the door skin.
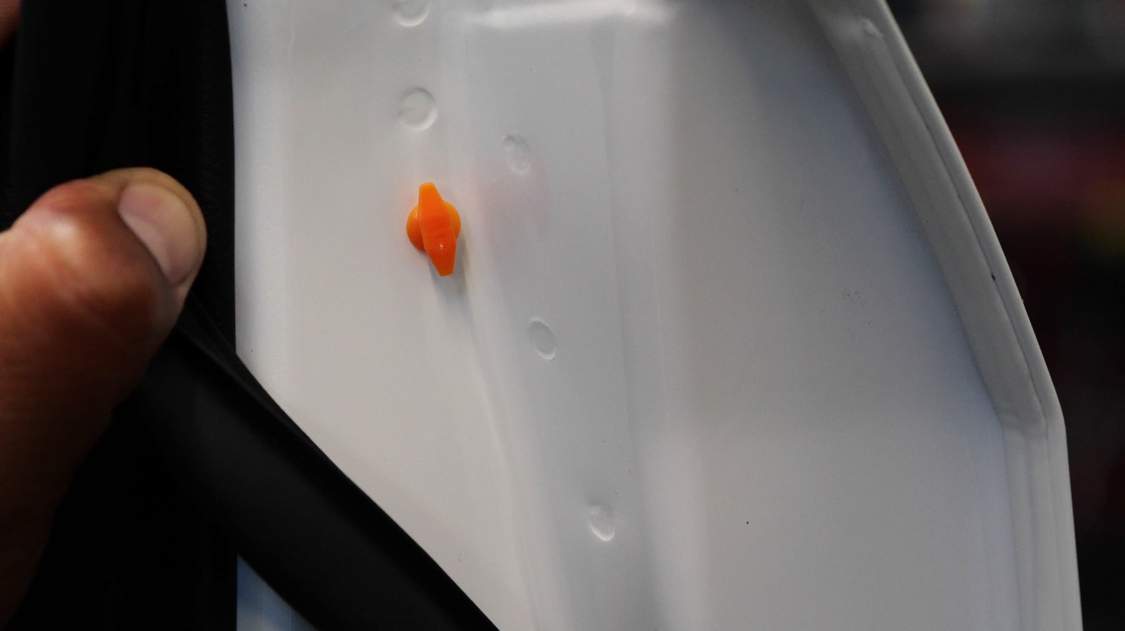
Let’s review some basic structures you will find in and around doors. In the image above, you will see “spot welds” on the edge of the door, these will give you some indication where braces start. Below are illustrations of types of braces.
Tube Brace
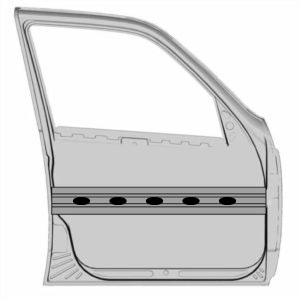
Waffle Brace
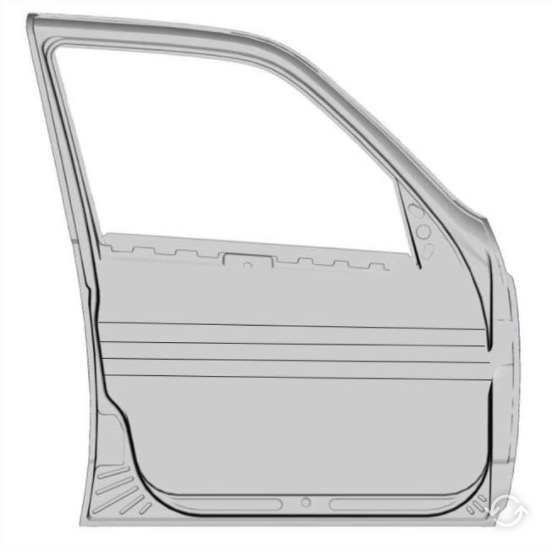
Slat Brace
Quarter Panel Access Methods
Tail Light Access
Accessing the quarter panel through the taillight opening is your ideal situation for most damage on the quarter panel. To remove the taillight, you will need to remove any interior trim that might be in the way. Most taillights are held in with 4-8 nuts screwed onto threaded studs. They are usually 8mm or 10 mm nuts and can be removed with a hand socket. Then remove the wire plugs to the light housing. Once removed, it affords the technician almost full and unobstructed access to the quarter panel. Below are some images showing taillight access and its removal.
Trunk Access
On a car, one of the easiest ways to access a quarter panels can be through the trunk opening. Remove any interior trunk trim on the side of your damage. These trim pieces are held in place by a snap plug, screws or another fastener. An S-Hook placed on the edge of the trunk opening can help create leverage while working on the quarter panel. Simply move aside the rubber trunk seal and set your S-hooks on the truck lip as shown below.
Interior Quarter Panel Trim Access
Another access point is to remove the Interior quarter panel trim or even just moving it off to one side. These panels are attached to the side panel, typically with clip fasteners and screws. Once this panel is removed or held out of the way. It can allow for access to the front of the quarter panel and repairs can be carried out as normal.
Access to Deck Lids, Hatches, Lift Gates & Tailgates
Deck Lids must be opened to a forty-five-degree angle and held open with the hood prop. If the deck lid you are working on has interior liner attached, simply use your clip remover to remove the trim clips and carefully remove the interior liner. The technician must then secure the deck lid with a bungee cord. From this point, we can access the area behind the damage and figure out if it will be an open panel repair or if we must use a hand tool behind the brace.
If the damage is severe or you have a lot of hail damage, it might be advantageous to take the deck lid off the car and mount it on a hood stand for better access.
Truck Tailgate Access
Truck tailgate access follows very similar principles to the content covered in the section above. This video will highlight some of the key differences and demonstrate how to approach a tailgate for a truck.
Roof Access
Items Needed
In this module, you’ll need the following materials:
Practice Vehicle
Dent Light
S-Hook or Panel Lever
Dent Hammer and Knockdown Tool
Various Dent Rods
Various Hand Tools
China Marker
Tennis Ball, Large Screwdriver and Duct Tape
Roofs, due to their location, will be the least worked panel on a vehicle with the exception of hail damage. When presented with a vehicle that has a roof ding or hail dents, the technician must decide:
1
2
If the decision is made to push the dent rather than pull it, can the technician simply drop part of the headliner, such as a corner? Or does the entire headliner need to be dropped down, out of the way?
Truck Bed Access
Truck bed access can be awkward and tricky. The problem is that truck bedsides are generally hollow with up to 10 inches, in some cases between, the outer skin and inside bed wall. Also, manufacturers tend to use rather stiff, HSS (High Strength Steel) or Aluminum in bedsides. This creates a difficulty for leverage in working your dents. Most trucks today, that have factory installed bed caps, have multiple openings along the top edge of the bed rails. You can access these openings by carefully removing the caps. Also, removing the taillights will allow you to gain access to most of the bedside.
For damage down low on the bedside, a little bit of ingenuity may be necessary. Using an S-Hook or Panel-Lever around the wheel well can help create leverage. You may also have to get under the truck facing up to get goodaccess and leverage.
Please Complete the Lessons Below in Order to Proceed
Click on ‘Show What You Know!’ and ‘Knowledge Check’ below then mark each complete in order to proceed in the training.